
Ready Build Plans
Each Ready Build Plan package includes:
✓Material Pull List
✓Material List
✓Construction Drawings
✓Stamped Permit Drawings and Calculations (PDF)
Click on pictures for more details!
Not sure how to get started on getting a pole building on your property? Click here


Need help understanding how to get your Post Frame (AKA: Pole Building/Barn) designed, ordered, permitted and built?
This article is written to help you get your Post Frame (Pole Building, Pole Barn) building designed, ordered, permitted and built. The first item to understand is how a Post Frame building differs from a Stick Frame building and why is there all this folduraah and hoopla about permitting, Building Permits, engineers and stamped plans. Let's start digging holes and sawing lumber!!! Let's get this thing built!!!! But first a short Civics lesson......The house that you live in is most likely a Stick Frame type building. This means that it is built on a continuous, concrete foundation, wall studs installed at 24" on center (o.c.), trusses at 24" o.c. and sheets of wood sheathing (plywood or OSB - Oriented Strand Board) nailed directly to the top of the trusses and to the studs. This is the most common type of construction in use today. It is so common, in fact, that an entire code book has been written that deals only with this type of construction. This code (The International Residential Code - The IRC) was written for the express purpose of standardizing residential construction so that it is economical to build, safe to occupy and not requiring the involvement of a licensed design professional (Architect or Professional Engineer - PE). The IRC requires that houses be built according to a very specific set of guidelines called The Prescriptive Path. There is no other method in The United States that is prescriptive so that all other types of construction (Post Frame Construction is NOT prescriptive) must be overseen by an Architect or a PE. The Engineers and Designers at Alliance Engineering have been designing Post Frame structures since 1998. The final word on Post Frame buildings is that if it has an area greater than 200 Square Feet (sf) and not used strictly for agricultural purposes it is required to be designed and analyzed by a Licensed Design Professional and shown to be compliant with The International Building Code (IBC). Even if you have plans that were handed out by a county or state agency these are NOT code compliant plans and are not safe for use by humans. As an example, the State Of Oregon issues free Post Frame Building plans (Ready Build Plans). These plans are issued by the Building Codes Division of The State Of Oregon and they are not code compliant and are unsafe for use by humans.
There is actually a very good reason for the requirement that Post Frame buildings be designed and analyzed by a Licensed Design Professional and not for a Stick Frame building. The IRC was written such that all of the building components are very lightly loaded. A wall stud in a house, for example, will be required to support only about 15% of its true capacity. And when you think about it, that is quite reasonable and the entire Stick Frame community is knowledgeable and experienced with the IRC requirements. The structural components in a Post Frame building can easily and safely be loaded to 98% of their true capacity. It is because of the higher use values in a Post Frame buildings that Post Frame buildings are so economical to construct. Since it is in the best interests of the community to insure no building fail or collapse, lawmakers have allowed only one type of construction to be prescriptive...Stick Frame. This insures that public health, safety and welfare are maintained.
So. Let's get on with it. If you are going to build a Post Frame building you will need plans and attendant structural calculations. All of this and quite a lot more is included in the Engineering And Build Kit that the design professionals at Alliance Engineering have prepared. We have developed several building designs with dimensions and layout that have been successfully permitted and constructed multiple times in various states and jurisdictions. The building width, length, eave height, roof slope and window and door layout are all fixed. Environmental loads such as snow loading, wind loading, seismic accelerations, wind exposure and allowable soil bearing capacity are all fixed as well. We have also fixed the building material types (grade and species of lumber) so that not all of the materials required may be available to you locally. Note that the environmental loads can be obtained directly from your local Building Department. Don't worry. I'm gonna walk you through the entire process inna minit.
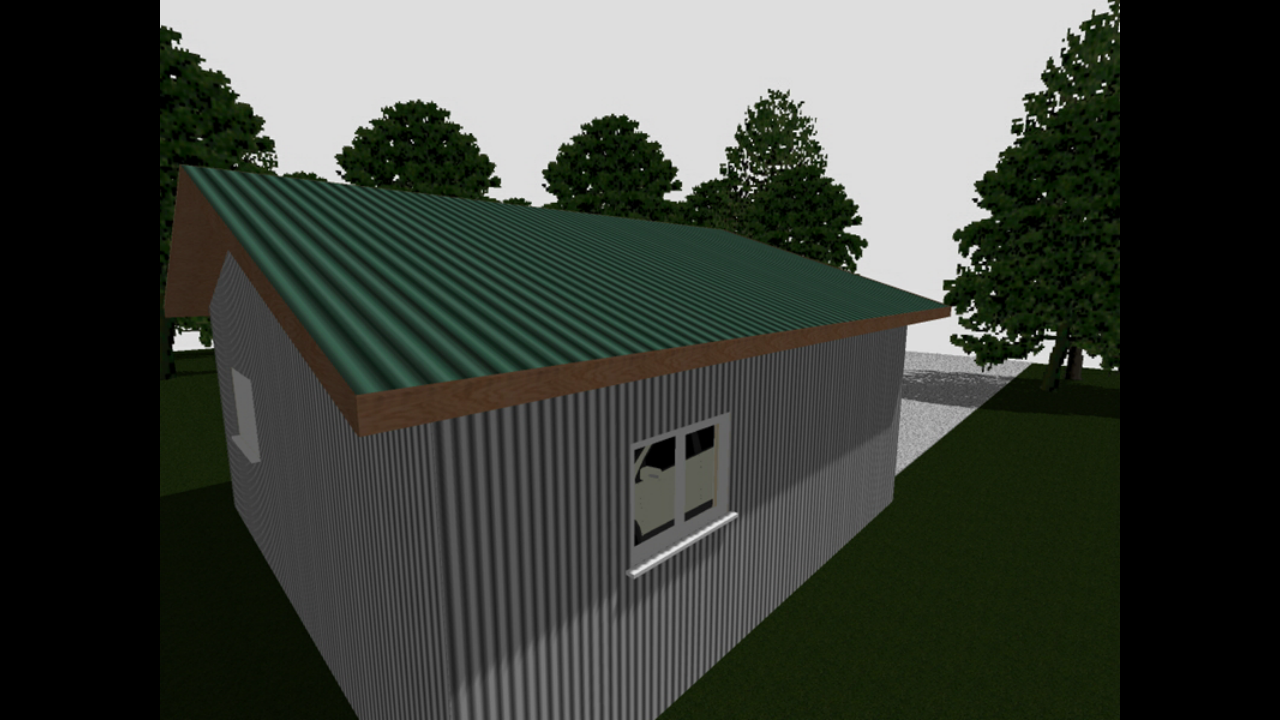
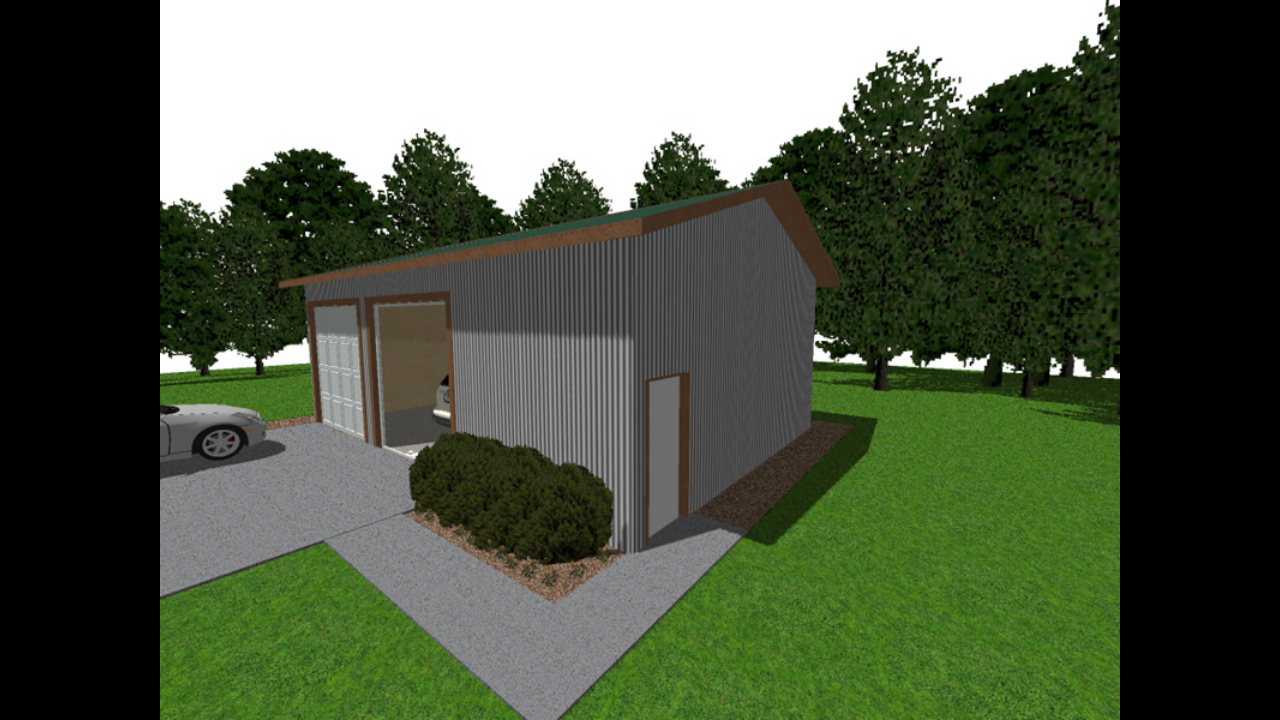
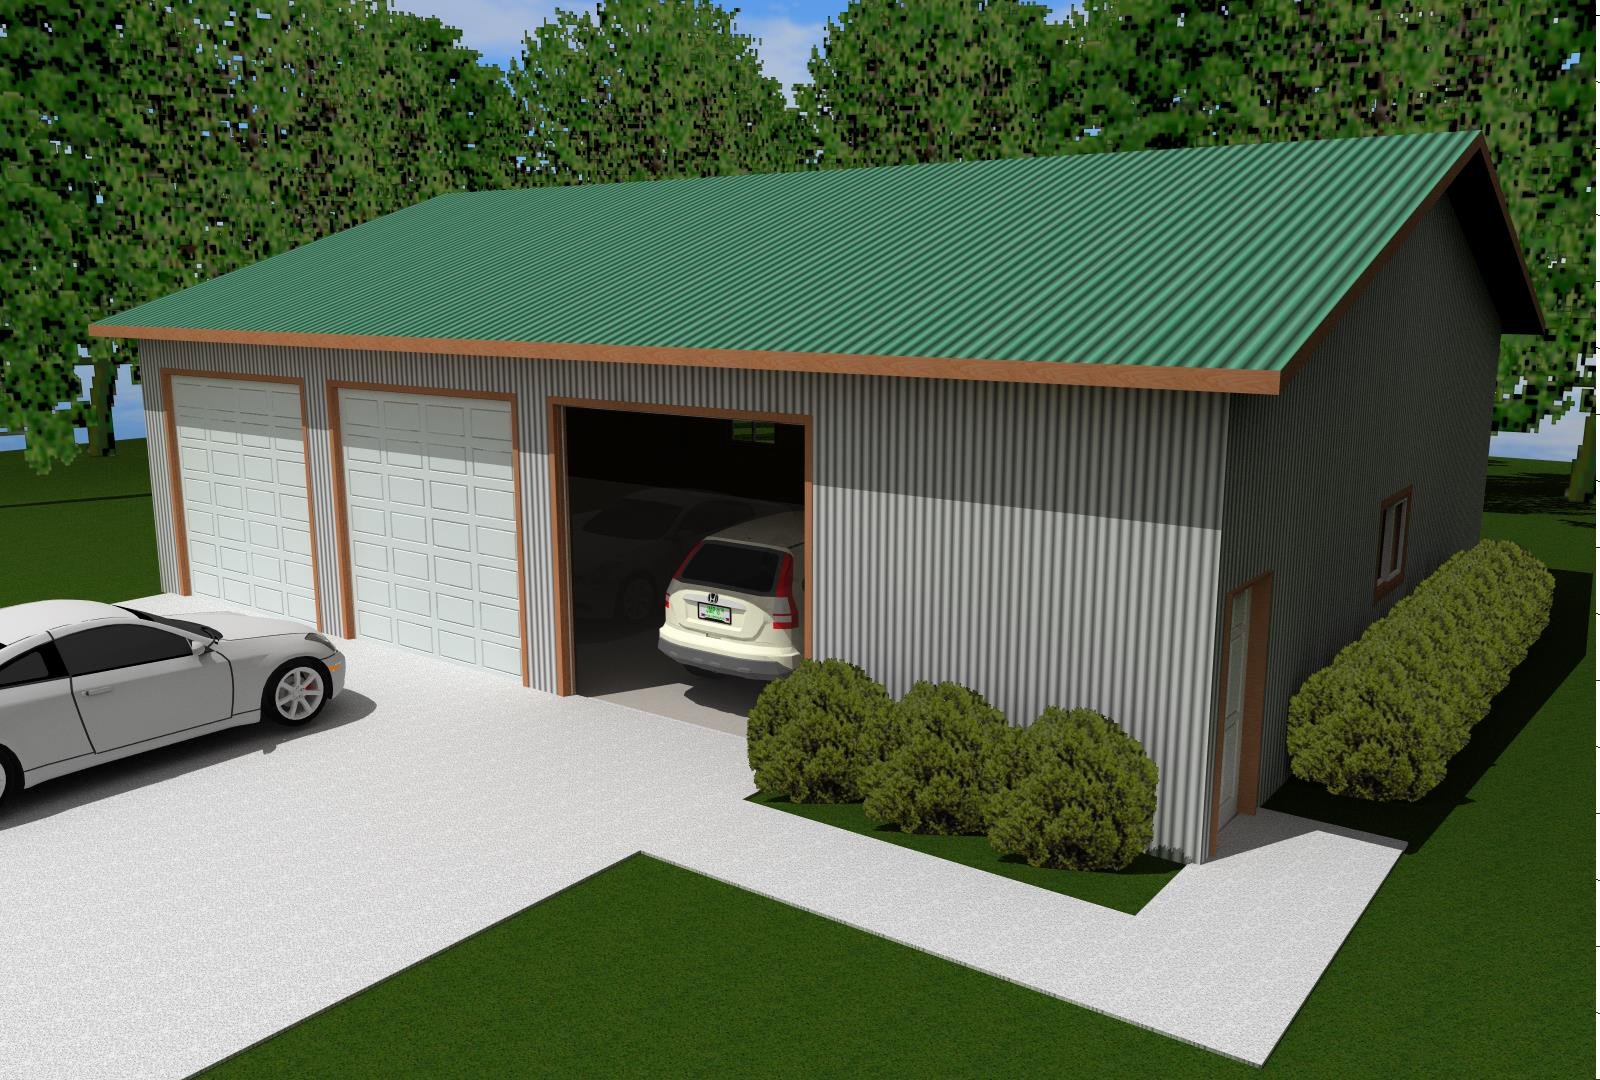
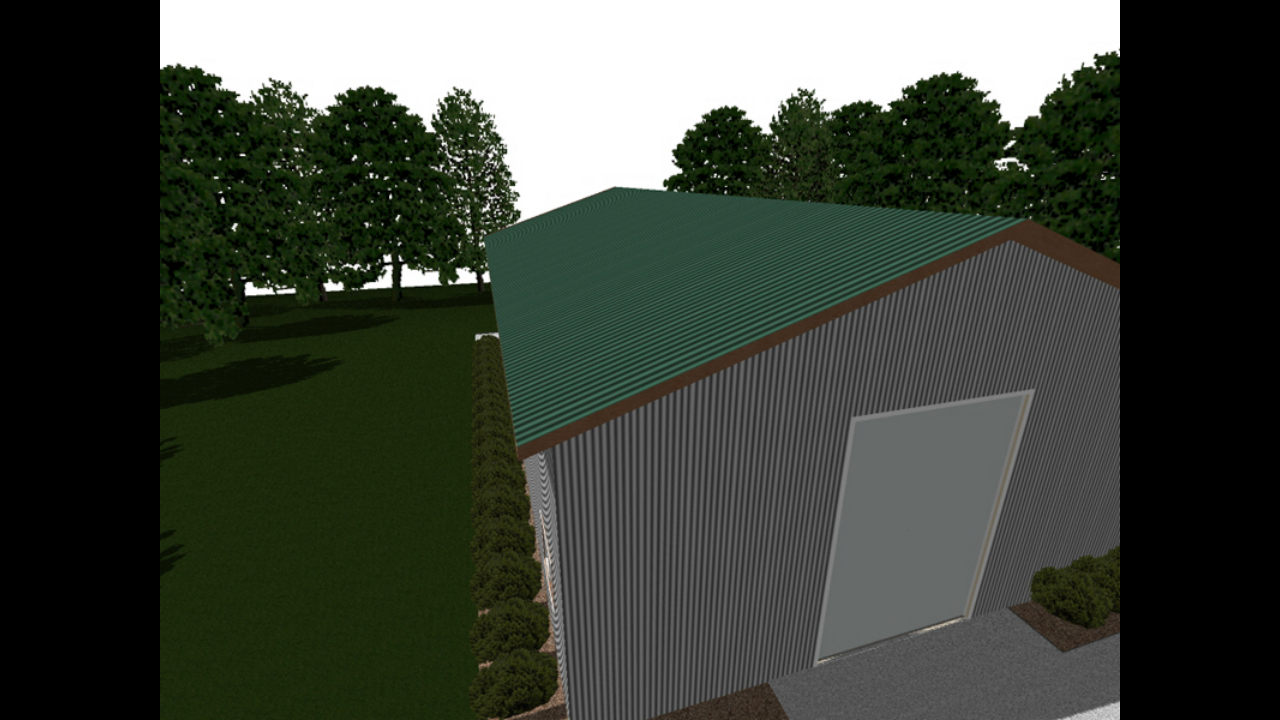
Let's look at the first building design to get an idea of how this works. Our first up design is a cute little shop building (those are actually my daughter's words) that will work for a lot of things....A She Shed, a Man Cave, home woodworking shop or, if you're like me and you make high carbon steel kitchen knives...a knife La Bore A Tree where steel is heated and shaped and the kerosene heater flickers and coffee is swilled. The building width is 24'. The length of the building is also 24' and the eave height is 10'. The slope of the roof is 4/12 (look up "roof slope" and "eave height" if you have questions). This gives us a floor area 576 square feet (sf) which is a generous space for table saws, work benches, a quilting machine, a ceramic kiln, a spinning wheel or a Beaumont Metal Works MOAG (Mother Of All Grinders) 2" x 72", variable speed, bench mounted belt grinder (in case you want to buy me a Christmas gift).
So here's what you do: get a tablet of 11" by 17" grid paper, a ruler , cizzers, clear tape and a straight edge 'cause we're gonna turn you into a drafter! A tiny bit of 'rithmatic first. We are going to use a scale of 3/8" = one foot. A scale of 3/8" = 12" will give you a square 9" (3/8" x 24 = 9") on each side that represents your 24' x 24 building floor plan. Now you have a "to scale" floor plan of your new building. What do you want to put in it? Work bench? Table saw? Pottery wheel? Well, all you have to do is get a measurement (in feet) of the area of each item. Say a 2' x 2' footprint of a simple chair. On your floor plan this would be a square that is 0.75" x 0.75" (2' x 3/8 = 6/8" or 0.75"). And THIS is where the cizzers come in! Cut out a three quarter inch a by three quarter inch little square (just like paper dolls!!!) and label it "chair". Next your 2' x 8' work bench. It would be a rectangle three quarters inch wide by three inches long (2' x 3/8 = 0.75" and 8' x 3/8 = 24/8 or 3"). Continue "paper dolling" until you have all yer stuff located on the floor plan. Remember, you have to walk and move in this space so don't pack it in till it burps! Give yerself some room to walk around and be comfortable. Now comes the serious part: will a 24' x 24' building house all of your stuff and give you some "human" space to sit, contemplate and enjoy? Only you can make this decision. So let's assume that a 24x24x10 works for you....what's next??
Call your local Building Department and ask them for the following data for the new building address site. You might not know what all the items are but the Building Department people will know immediately: Wind Speed, Ground Snow Load, Allowable Soil Bearing Capacity. There are other environmental factors that are required but we will retrieve those from a website hosted by USGS (The US Geological Survey). While you have the Building Department representative on the phone ask them to tell you inspections that will be required during the course of construction. There may be two Hole Inspections - one when the postholes are drilled and one after the concrete pads are installed. There may be one or two Framing Inspections. There may be a Final Inspection. Only your local Building Department knows the exact Inspection schedule. Immo sound like your Uncle or your HS Latin teacher but.....Be sure and take good and copious notes.
Next, go to our Ready Build Forms Page and download our order form, fill it out and PDF it to us. This will begin the permitting process that will lead you to getting permission to commence construction (Building Permit). Once we have all the design and permit information Alliance Engineering will deliver The following:
Design drawings and attendant structural calculations. These documents will bear the stamp of a licensed engineer, licensed to practice in your state. These documents will be submitted to your local Building Department.
A Pull List. This list will be used to purchase all of the materials (lumber, nails, screws, bolts etc.) necessary to construct your building. You will take this list to a building supply store and this is a list of items that you will need to build your building. These are all off the shelf items...2x6's, screws, nails, Pressure Treated posts, corbel bolts, metal sheathing etc. that you will need to trim and shape later.
A set of construction drawings. These drawings are not required to be stamped. These drawings provide the details necessary to actually cut and saw and hammer and erect the building. The details on these drawings are far more detailed than is required for the Building Department Plans Examiner or the Building Inspector. These drawings are for YOU. They will show you where to drive the nails, install the corbel bolts, how to cut and install the metal wall and roof sheathing, and more.
So let's assume that you have your Building Permit from the Building Department, you've purchased all of your materials and had them delivered to your building site. Now the postholes must be laid out and drilled. I recommend that you engage the services of a hole driller to come out and drill all your postholes to the right depth and diameter. You, of course, can dig these by hand but having them drilled is much easier, faster and more accurate. Next is the pads. A 6" thick concrete post pad is required to be installed in the bottom postholes. A caution here - make SURE that you are adhering to the Inspection Schedule that you discussed with the Building Department representative - that "take good notes" list we talked about above The Construction Drawings will show which holes need concrete pads. Once the holes are in you must call for your first inspection...The Hole Inspection. A Building Department guy (Building Inspector) will show up and look at drawings and inspect and measure and (hopefully) sign off on the holes and pads.
Next wait three days (minimum) for the concrete to set up enough to receive the actual posts.
Next Install the posts and posthole backfill.
Raise and attach trusses and all secondary (girts and purlins) per the Construction Drawings and call for a Framing Inspection.
Pour the concrete floor slab.
Install roof and wall sheathing.
Call for Final Inspection
Receive Certificate Of Occupancy.
Occupy and use the building.